
I recently added some cache to my QNAP NAS at home and thought I’d document the process here. It’s pretty straightforward, but there are nonetheless some things you need to take into consideration. Also, this is more about me satisfying my curiosity. I’m not suggesting you’ll real benefits (particularly the way I’m using it).
The Hardware
Firstly, my NAS is a TS-831X model, with 8 drive bays and the ability to add in a small form-factor PCIe card. As all of the bays are already occupied with spinning disks, I opted to use the PCIe solution. To that end, I purchased a QM2-2S-220A Dual M.2 22110/2280 SATA SSD expansion card from a local supplier. It’s relatively inexpensive, and you get some choice in terms of the storage you install. It also comes with low-profile and normal baseplates as well, so you could load this in a PC if you’re into that sort of thing. Since I’ve been using Apple gear for a while, I’m a little rusty with the screwdriver, but installation was straightforward. Remove the heatsink and fan, add some thermal pads to your M.2 drives, and you’re good to go.
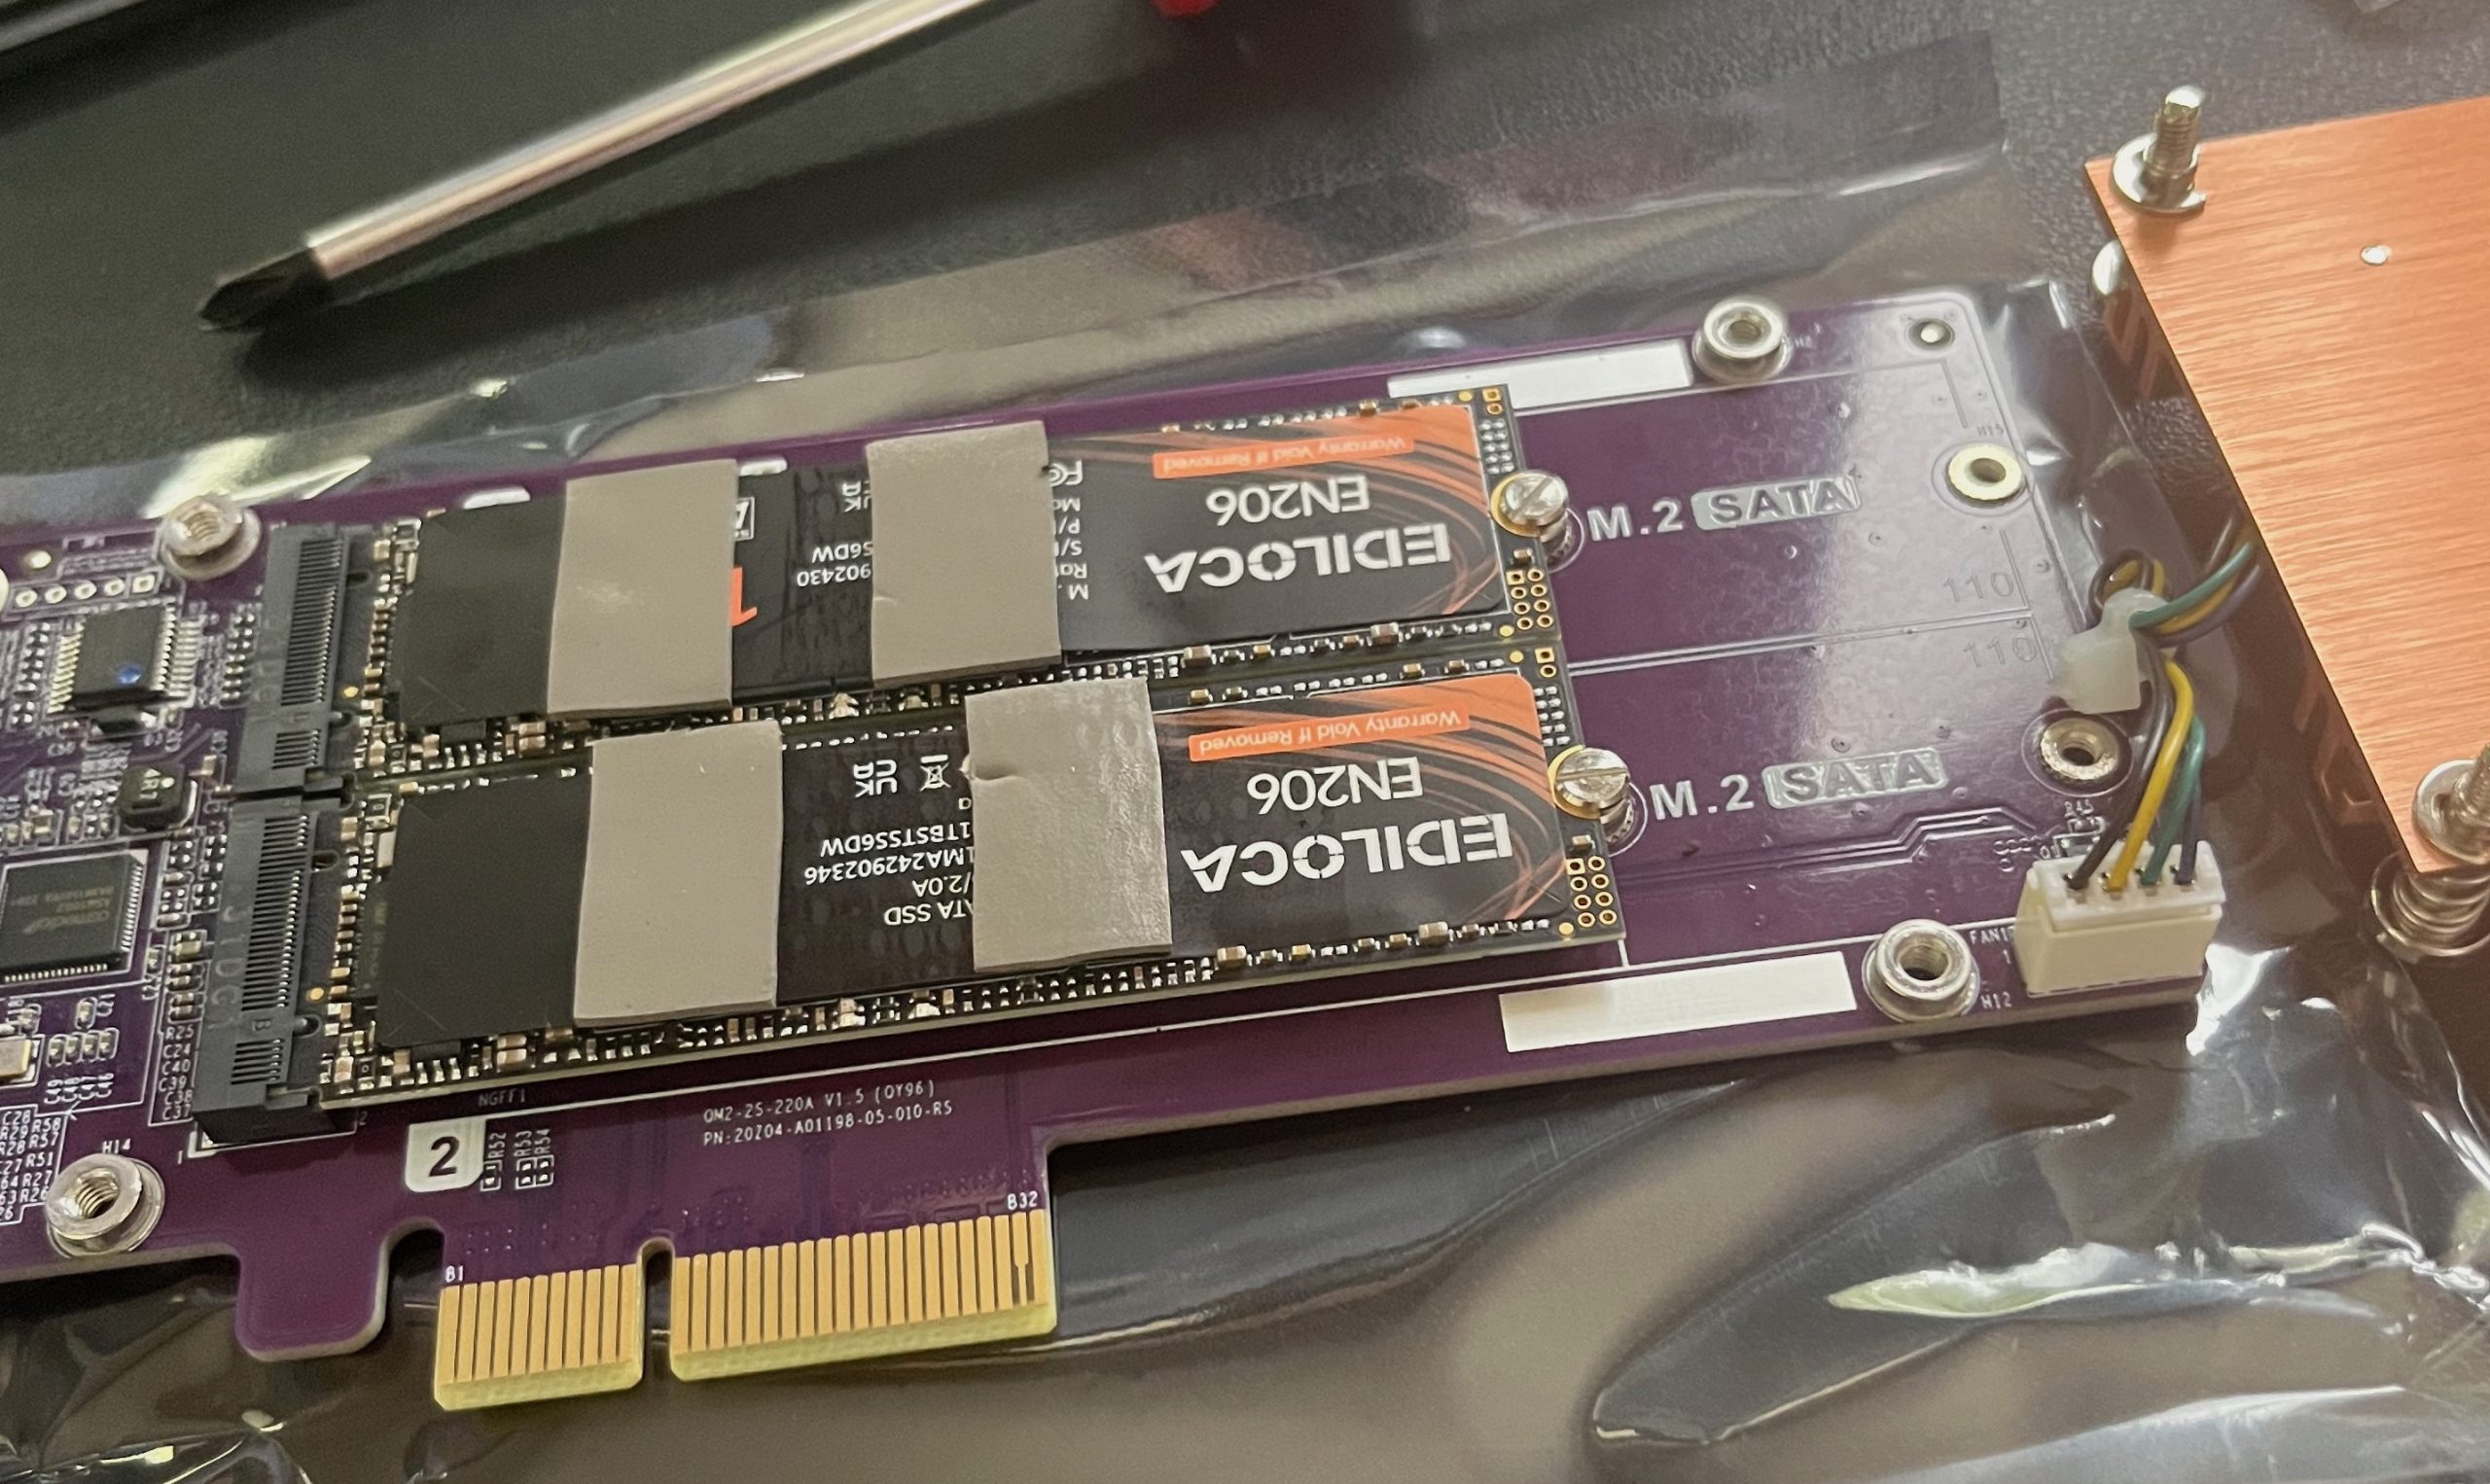
The card slots into the single PCIe slot in the NAS.
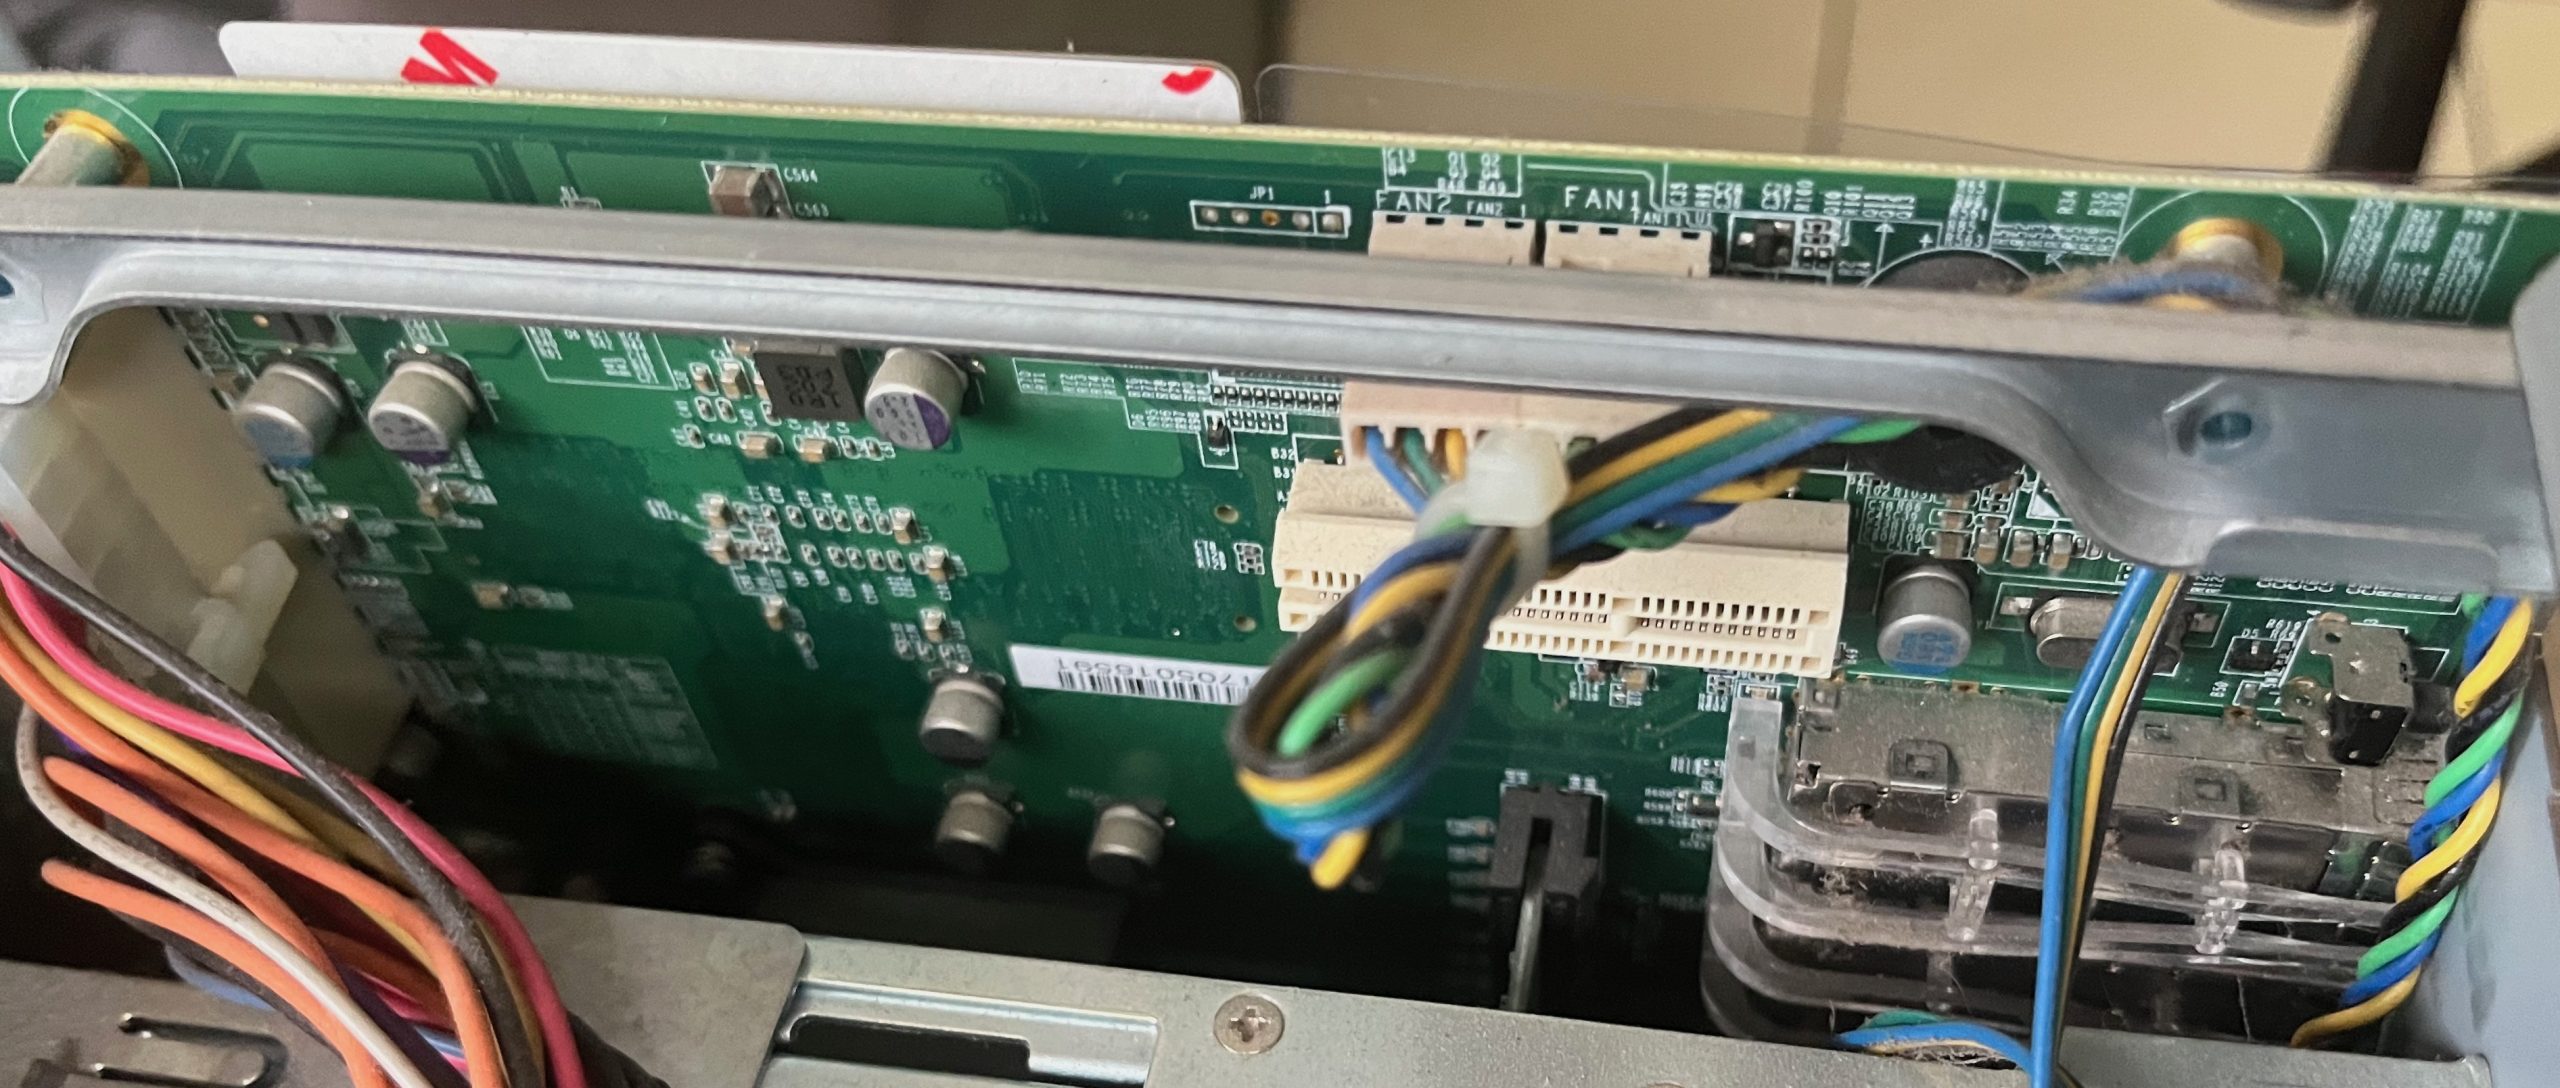
You’ll notice I went with the cheapest 1TB M.2 drives I could find on Amazon. Time will tell (probably sooner rather than later) whether that was really a wise choice.
The Software
Once the NAS has booted up again (and hopefully with no errors), you’re good to start the software configuration. The QNAP documentation covering the process can be found here. While I’m running version 5.2 of QTS, note that other versions may look a little different. There are some things to consider with regard to the amount of RAM you have installed, the version of software you’re running, and the amount of cache you have installed.
To get started, click on Storage & Snapshots.
You’ll see that I have the main enclosure (with 8 drives) and a USB-C enclosure with 4 drives. I also now have two SSDs installed on the QM2 card.

Click on Cache Acceleration to get started. Then click on the big + sign.

You’re then presented with a wizard that will guide you through the configuration process.

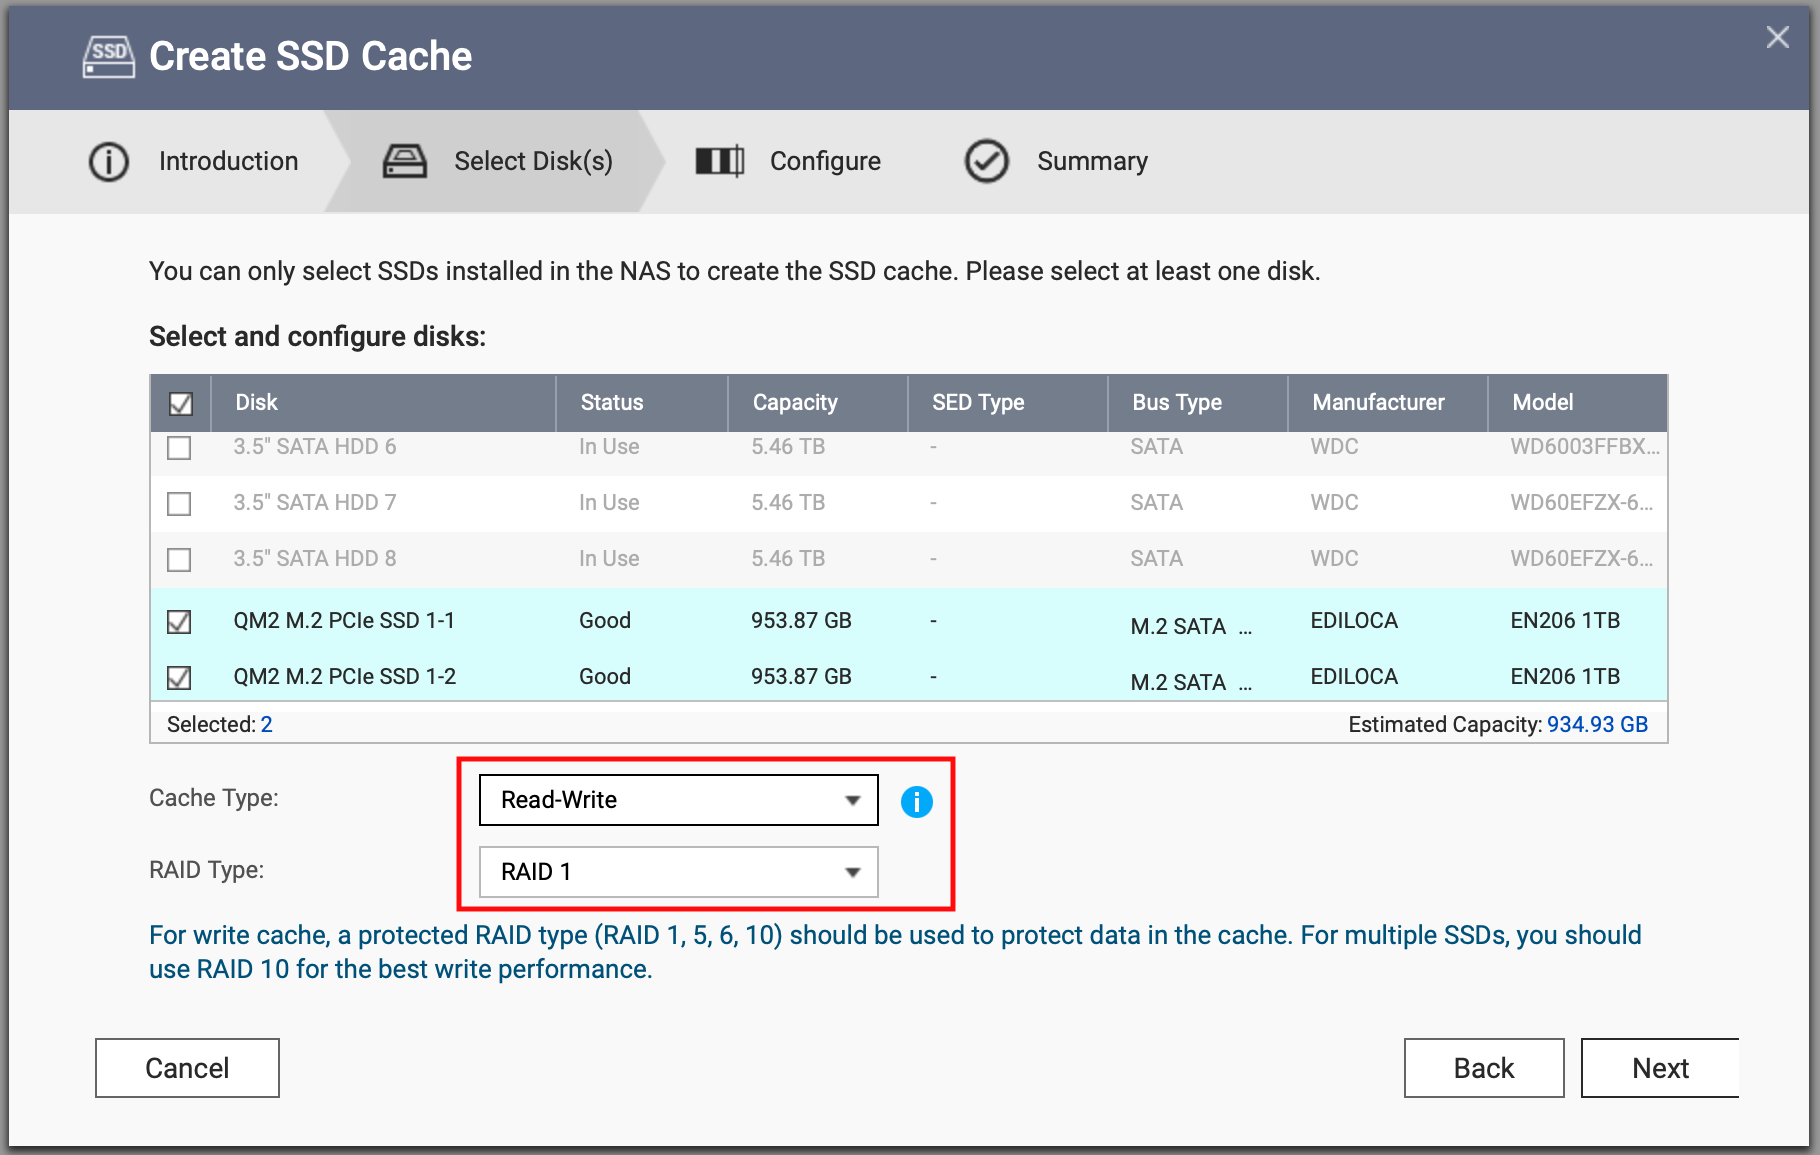
The first thing you’ll need to do is select the disks you want to use for your cache. Note that you can’t select any disks that are already in use.
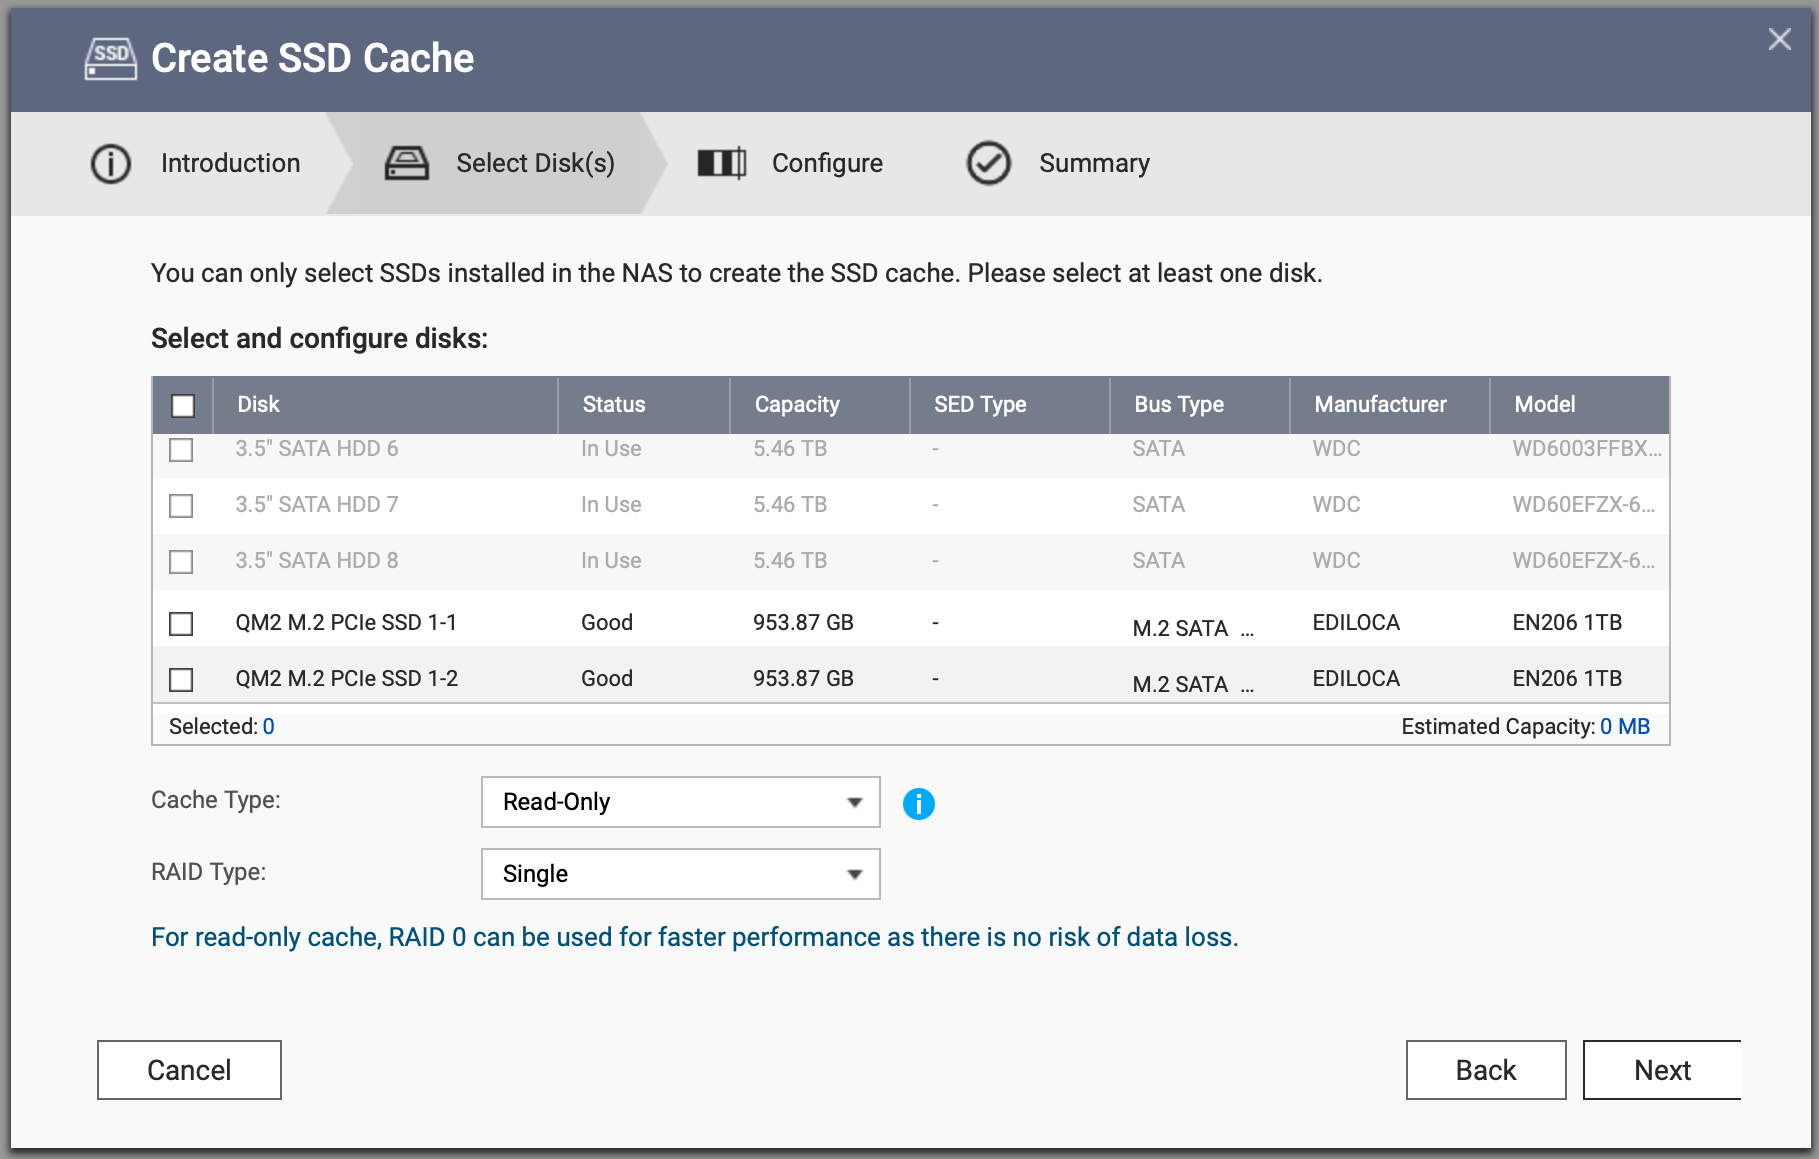
Once you’ve selected the two disks you want to use, you’ll see that the RAID Type changes to RAID 0. You can use this option if you’re only going to configure read cache.

In this example, however, I’m going to configure the cache as read-write.

As I’m configuring the cache as read-write, I need to set the RAID Type to RAID 1, as I don’t want to lose writes if one of my cache devices fails. Once that’s done, click on Next to continue.
On this screen you can configure SSD Over-provisioning, Cache Mode, and Advanced Settings. If you’re confused about the percentage you should set for over-provisioning, there is a tool available in QTS that you can use (the SSD Profiling Tool). Or you can just click click next like I did.

In this example, I’m changing the Cache Mode to All I/O, as this NAS is used primarily for streaming media. I’ll talk about whether it really makes a difference further down.

Under Advanced Settings, you can configure the Bypass Block Size setting (this only comes into play if your Cache Mode is set to Random I/O) and the Cache replacement policy. Click on Next to continue.

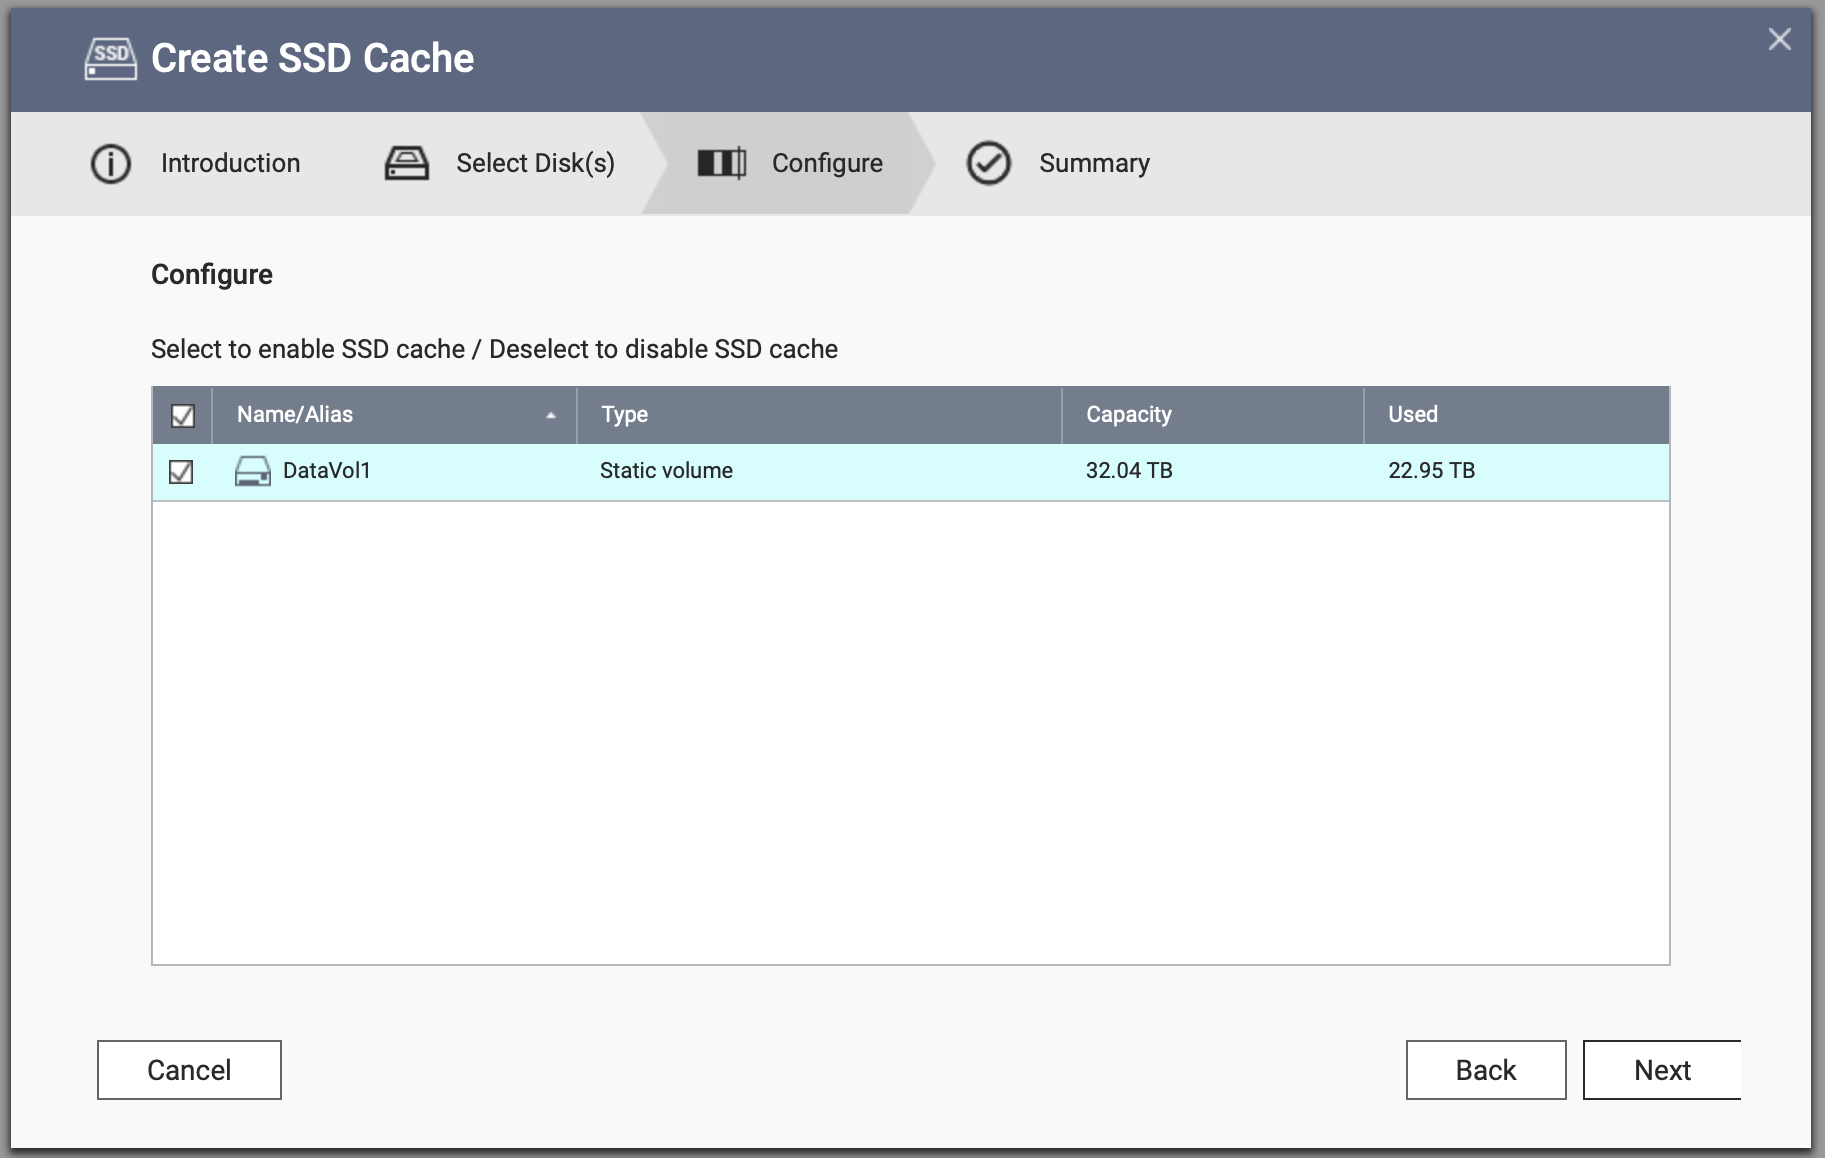
You can now select which volume can use the SSD cache. In this example, even though I have two volumes configured, only the internal one can leverage the cache as it’s configured as read-write. If I wanted to use cache with my external volume, I’d need to set the cache to read-only. Click on Next to continue.
You’ll then be presented with a summary of your configuration options. If you’re happy with how it looks, click on Create.

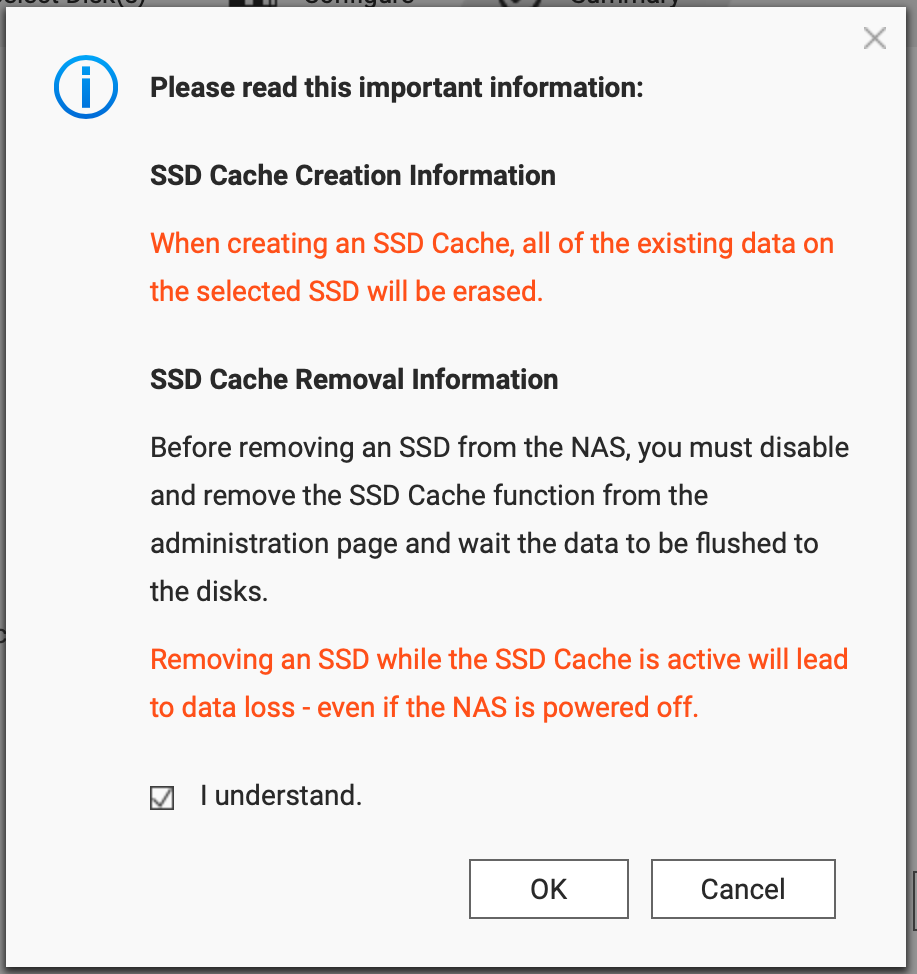
You’ll then be presented with some warnings regarding the cache creation and removal considerations.

Click on I Understand and OK to proceed.
Once you’ve finished you’ll see that the Cache is set to Initializing. It doesn’t take a terribly long time to complete.

And now you’re done and ready to enjoy that cache goodness.

Thoughts
Adding a Terabyte of SSD Cache to my home NAS was a fairly simple process, and relatively inexpensive to boot. I haven’t had much chance to test the performance yet, but I have noticed that the UI in QTS is reporting slightly higher CPU usage than I’d seen previously. While the process is easy, I’m not entirely convinced that I’ll see any real benefits, given that I’m serving up video files over SMB to a Plex server using a gigabit network. Maybe if I had a 10GbE running in the house I’d see it. And the workload has a bit to do with it too. If I was running Virtual Machines on this machine I think I’d see something good from a Random I/O profile, particularly with data coming off the SATA drives. Why didn’t I use Qtier? Because I have static volumes configured, not storage pools. And SSD Caching seemed the easiest thing to do without tearing it all down and starting from scratch. In any case, it was a fun experiment, and I’ll be curious to see whether I notice any real improvements and how long the drives last with normal use.